How to apply haze removal tool selectively in Affinity Photo
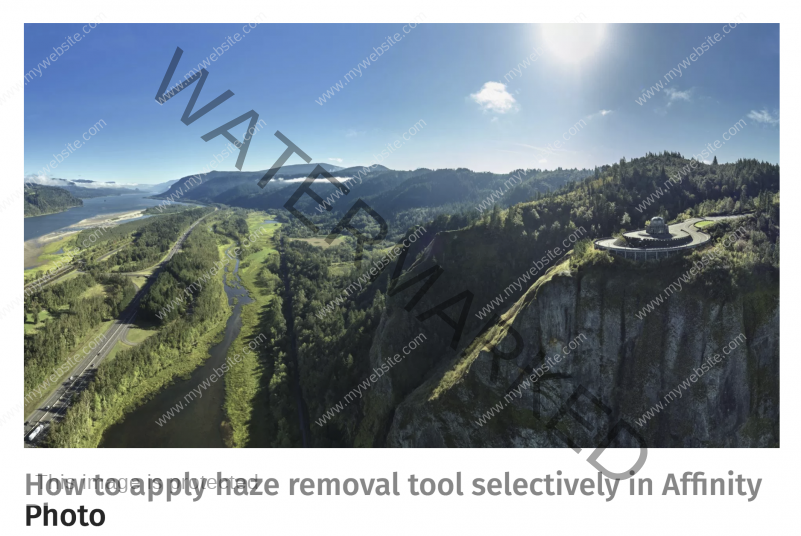
In this article, I am going to show you how I use the masks and the Haze Tool in Affinity Photo to apply it selectively. The above panorama consists of six photographs shot with my DJI Inspire 2 drone using the X5S camera and an Olympus 12mm f/2 lens. I corrected each photograph in Capture One Pro using the Lutify LM-RAW-CL-Chiara-25 LUT and then made further adjustments.
I then exported the six photographs as 16-bit TIFF files to AutoPano Pro, stitched them together and exported the final result as a 16-bit TIFF. The next step is to take it into Affinity Photo and apply the Haze Filter using a mask so I can apply it selectively rather than to the entire image. I want to thank toltec on the Affinity Forum for their help in my understanding of this process in Affinity Photo. See the video below for how to do this.
Click here to read entire article.